Providers
Notice
This page is archived and might not reflect the latest version of the FlutterFire plugins. You can find the latest information on GitHub:
A "Provider" is a type of authentication method which users can use to perform authentication operations against, for example to sign-in, register or link an account.
When using UI widgets, you can add a provider to the providerConfigs list of a widget to render the appropriate UI for that provider - for example, an Email Provider will render inputs and a
button, whilst the Google Provider will render a themed "Sign In with Google" button.
FlutterFire UI for Auth currently supports the following providers:
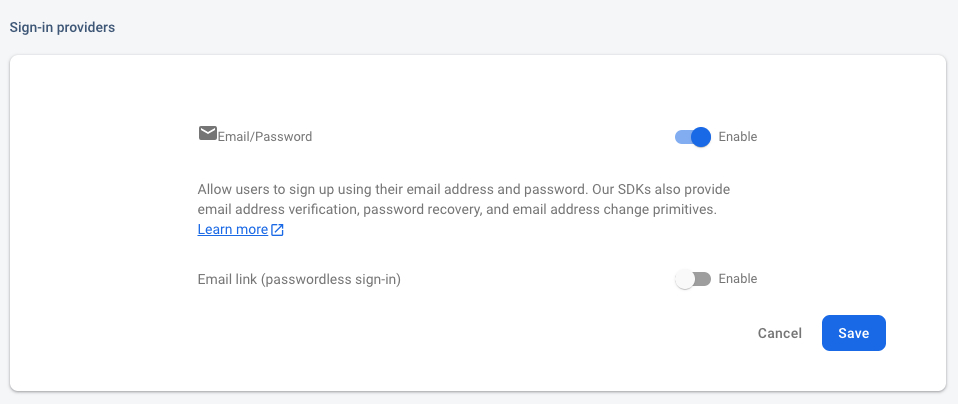
Email Provider#
To support Email Addresses as a provider, first ensure that the "Email/Password" provider is enabled in the Firebase Console:
On any UI widget which supports providers, you can now provide an instance of a EmailProviderConfiguration to the
providerConfigs list, for example:
The registration screen will now render a form with a text input for the email address and a password input, along with an action button to trigger the registration process.
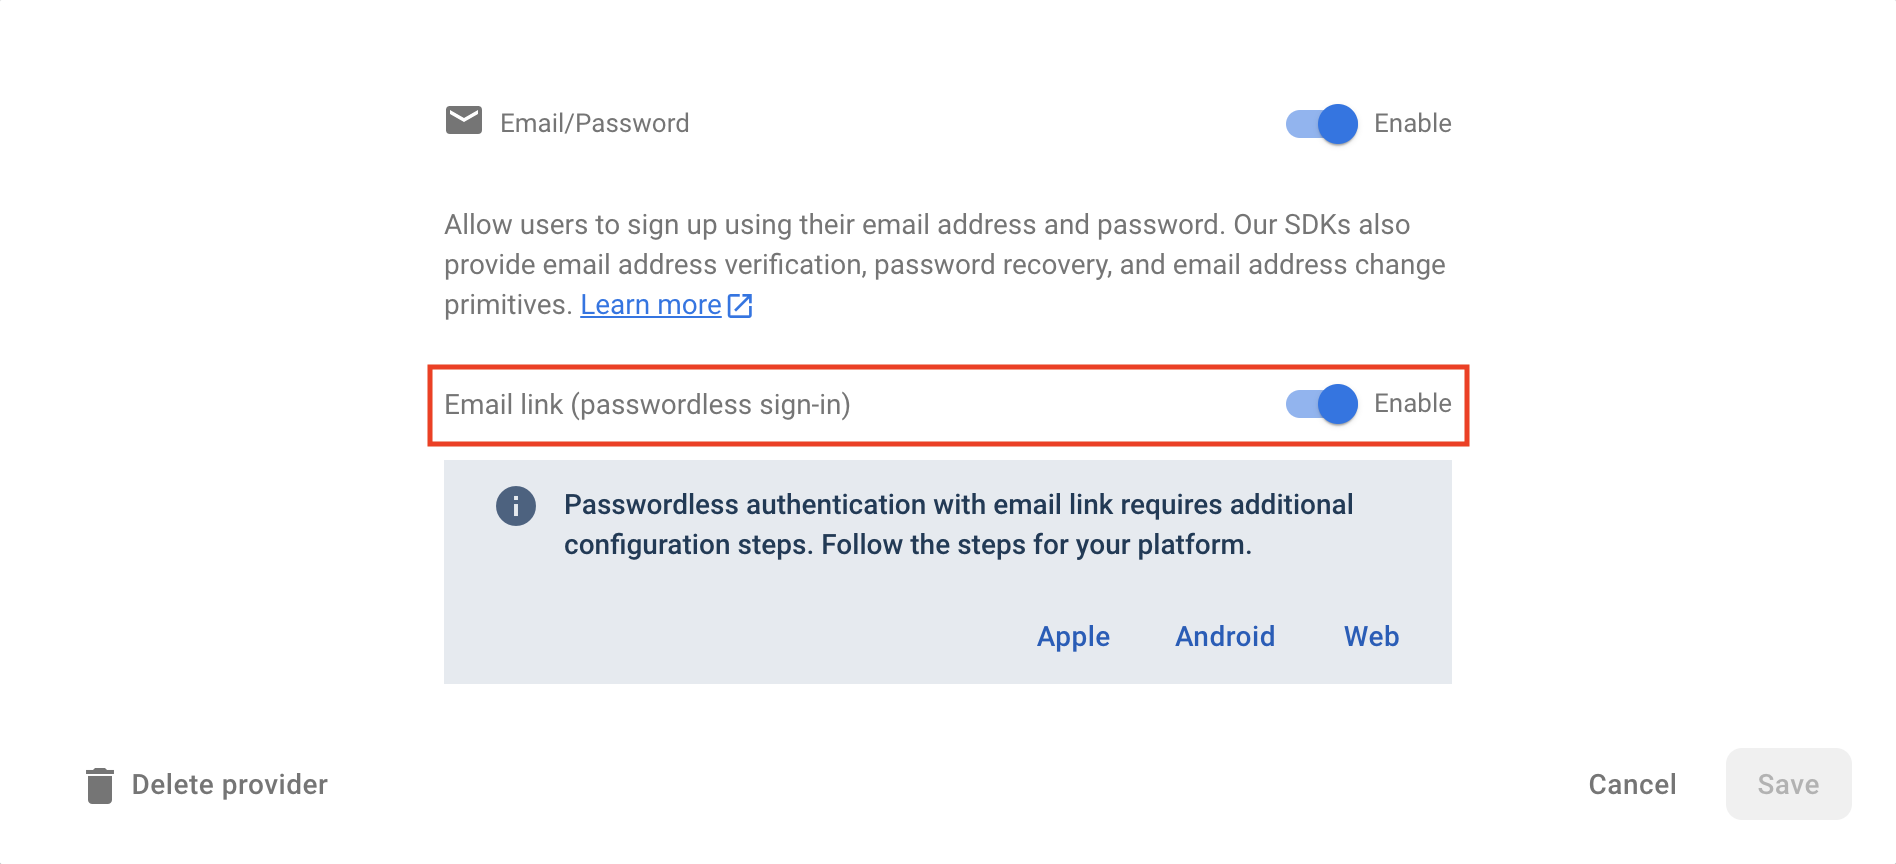
Email Link#
To support Email link as a provider, first ensure that the "Email link" is enabled under "Email/Password" provider in the Firebase Console:
On any UI widget which supports providers, you can now provide an instance of a EmailLinkProviderConfiguration to the
providerConfigs list, for example:
Email link providers are only available on iOS and Android.
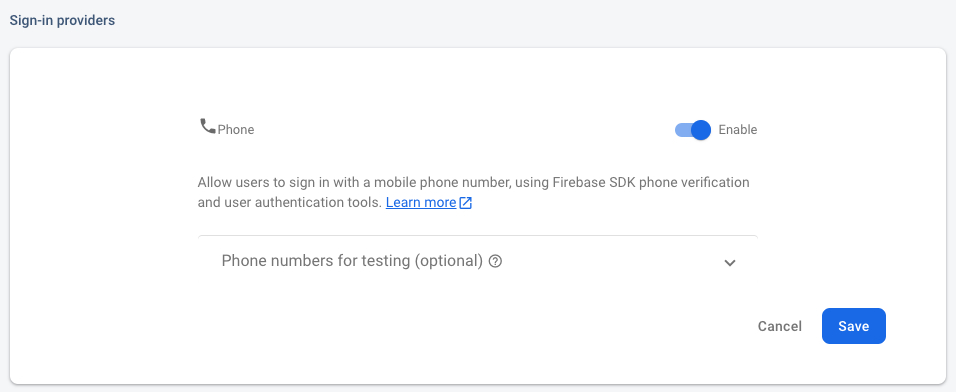
Phone Number#
To support Phone Numbers as a provider, first ensure that the "Phone" provider is enabled in the Firebase Console:
Next, follow the Setup Instructions to configure Phone Authentication for your platforms.
Once complete, add a PhoneProviderConfiguration instance to the providerConfigs list of a supporting UI widget, for example:
The registration screen will now render a button which, when pressed, will trigger the phone number verification process.
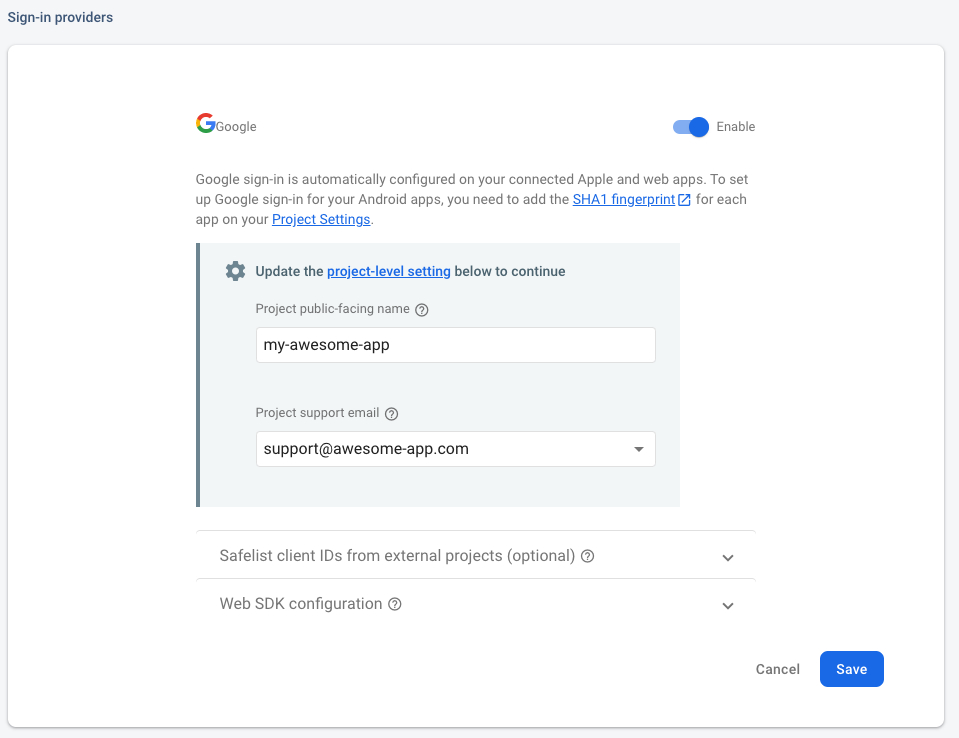
Google#
To support Google as a provider, first install the official google_sign_in
plugin to your project as described in the README.
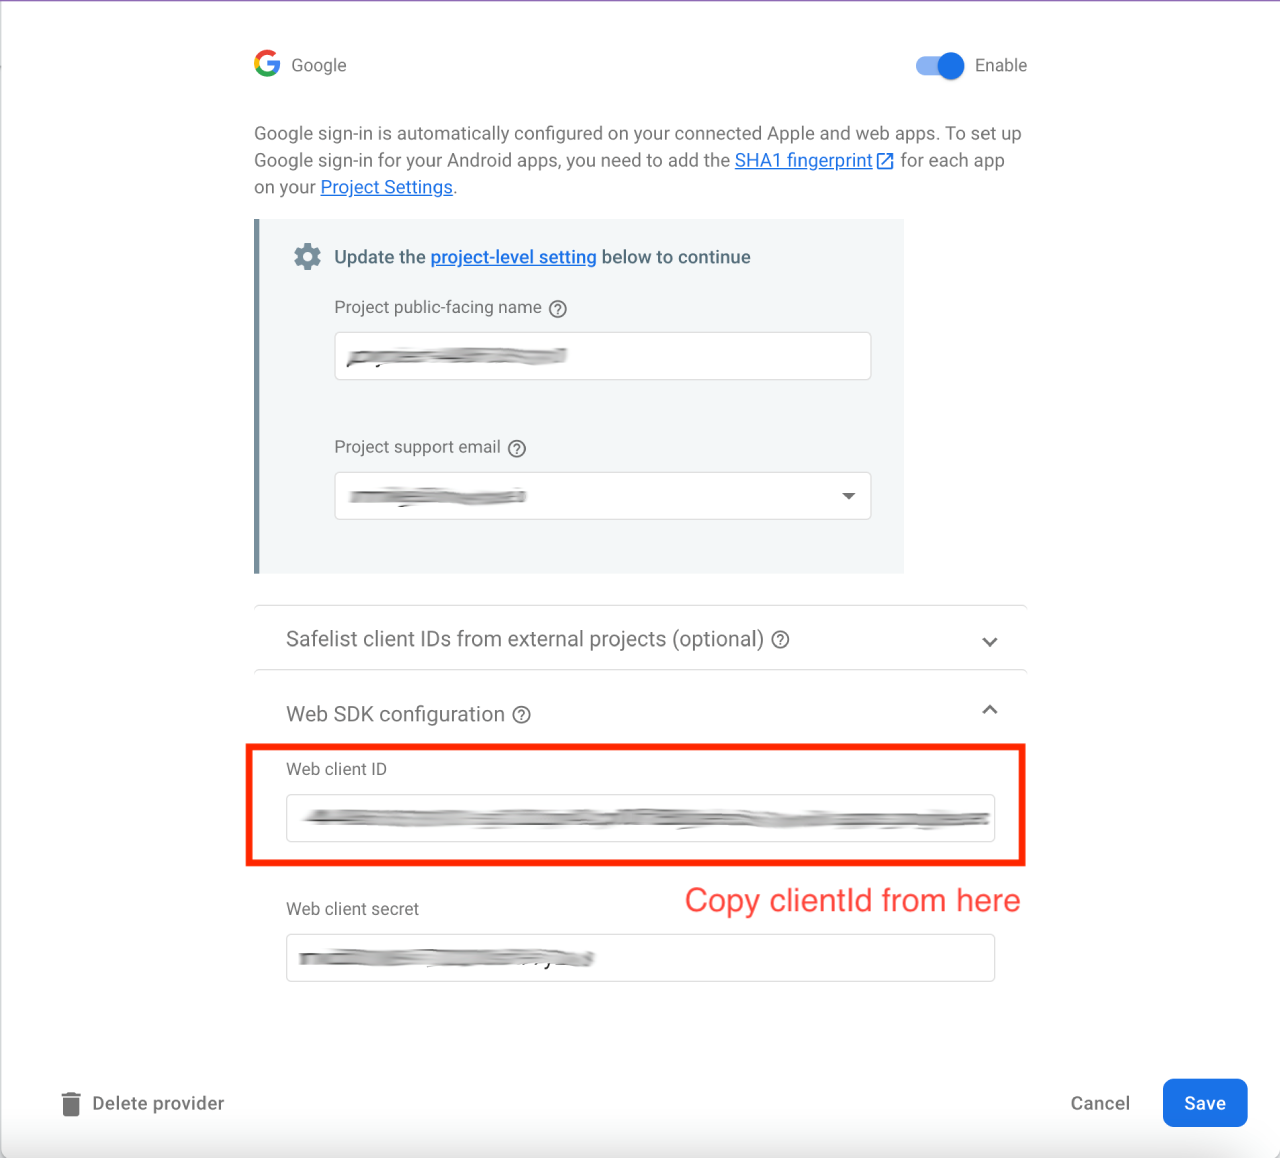
Next, enable the "Google" provider in the Firebase Console:
To ensure cross-platform support, please ensure you have followed installation instructions for both the
google_sign_inpackage and the provider on the Firebase Console (such as adding a SHA1 fingerprint for Android applications).
Once installed, add a GoogleProviderConfiguration instance to the providerConfigs list of a supporting UI widget, for example:
A themed Google OAuth button will now be rendered, and when pressed will trigger the authentication flow for Google.
The configuration requires the clientId property (which can be found in the Firebase Console) to be set for seamless cross-platform support.
Facebook#
To support Facebook as a provider, first install the flutter_facebook_auth
plugin to your project. Each platform requires that you follow the installation process as specified
in the documentation.
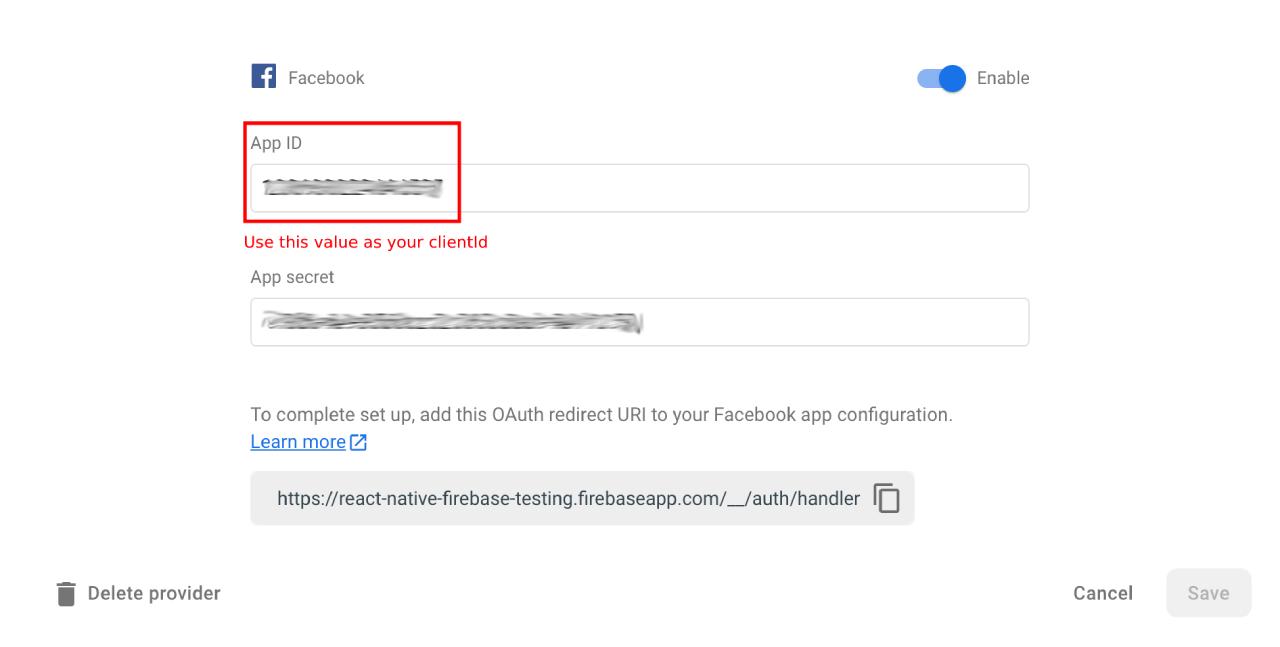
Next, enable the "Facebook" provider in the Firebase Console & provide your created Facebook App ID and secret:
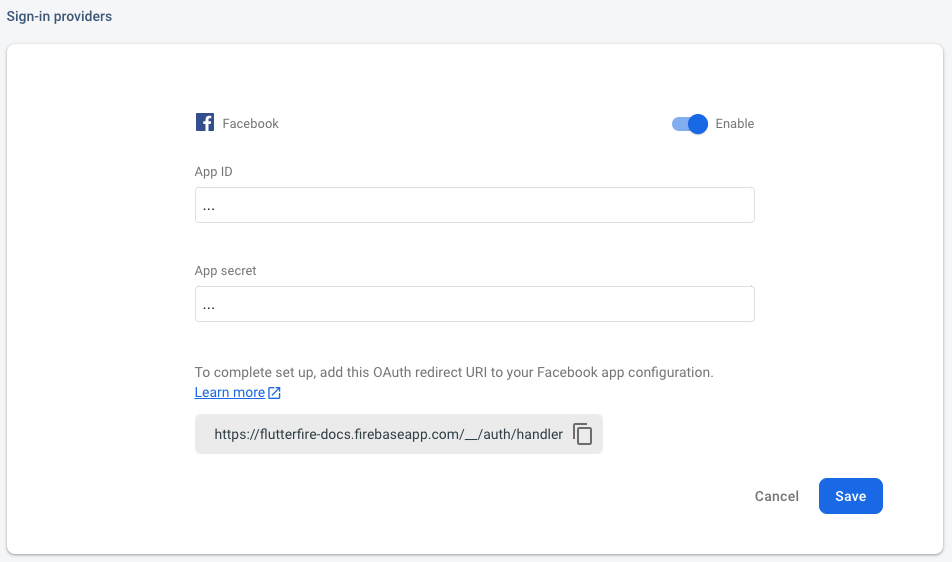
Once installed, add a FacebookProviderConfiguration instance to the providerConfigs list of a supporting UI widget, for example:
A themed Facebook OAuth button will now be rendered, and when pressed will trigger the authentication flow for Facebook.
The configuration requires the clientId property (which can be found in the Firebase Console) to be set for seamless cross-platform support.
Twitter#
To support Facebook as a provider, first install the twitter_login
plugin to your project.
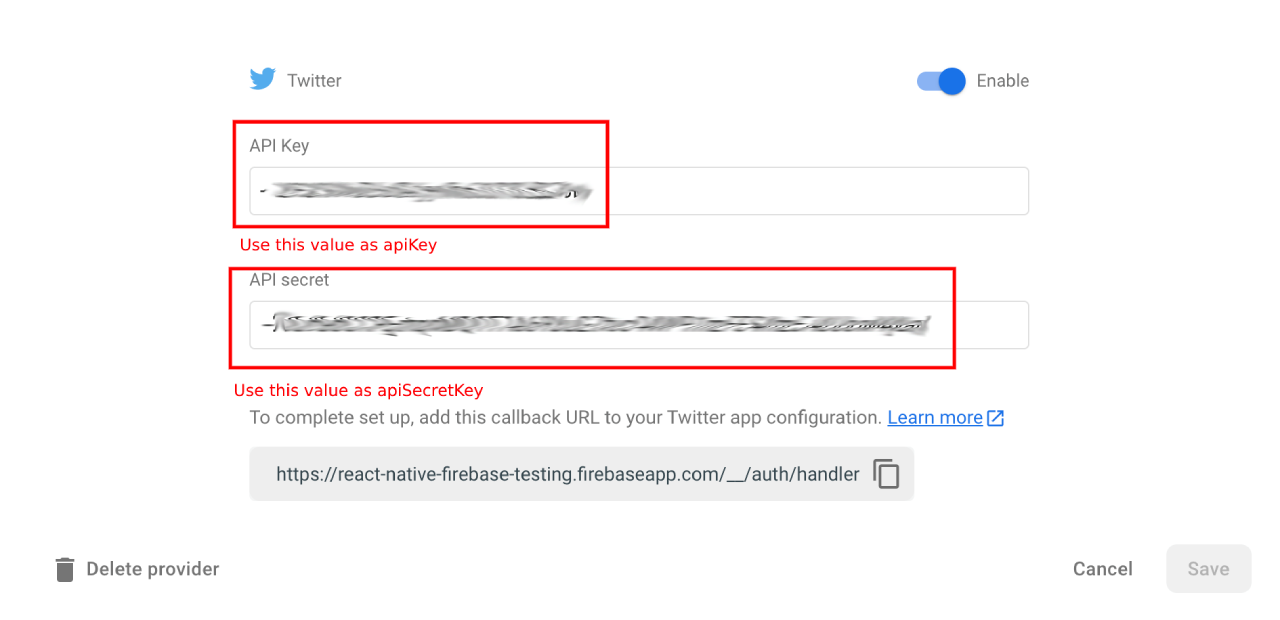
Next, enable the "Twitter" provider in the Firebase Console:
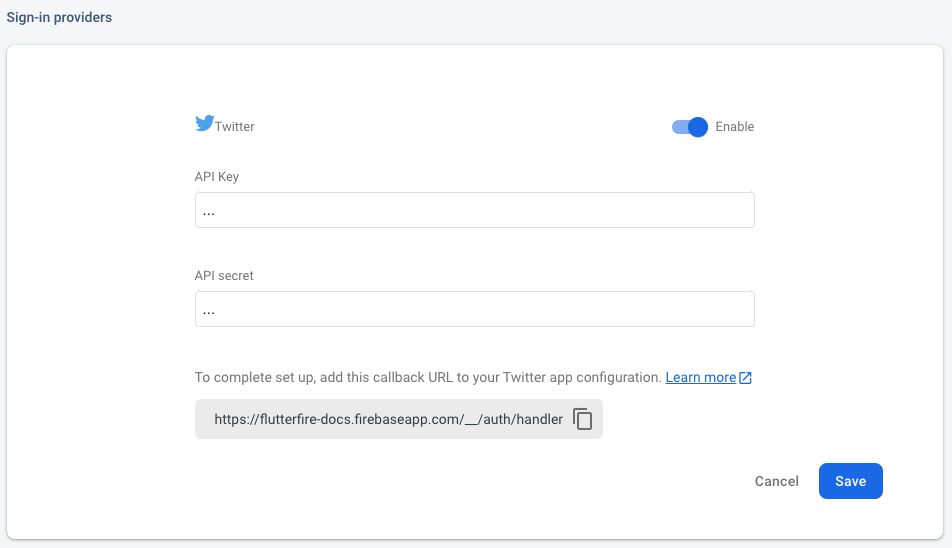
Once installed, add a TwitterProviderConfiguration instance to the providerConfigs list of a supporting UI widget, for example:
A themed Twitter OAuth button will now be rendered, and when pressed will trigger the authentication flow for Twitter.
You can get the apiKey and apiSecretKey from the Firebase Console or twitter developer portal.
caution
Providing the apiSecretKey directly is not advised if you are building for the web. Instead, you can use "dart-define" to ensure that
the value is omitted from web builds:
When building the app on platforms other than the web, the TWITTER_SECRET environment variable can be defined using:
Apple#
To support Apple as a provider, first install the sign_in_with_apple
plugin to your project. Once added, follow the Integration steps
for each platform.
Next, enable the "Apple" provider in the Firebase Console:
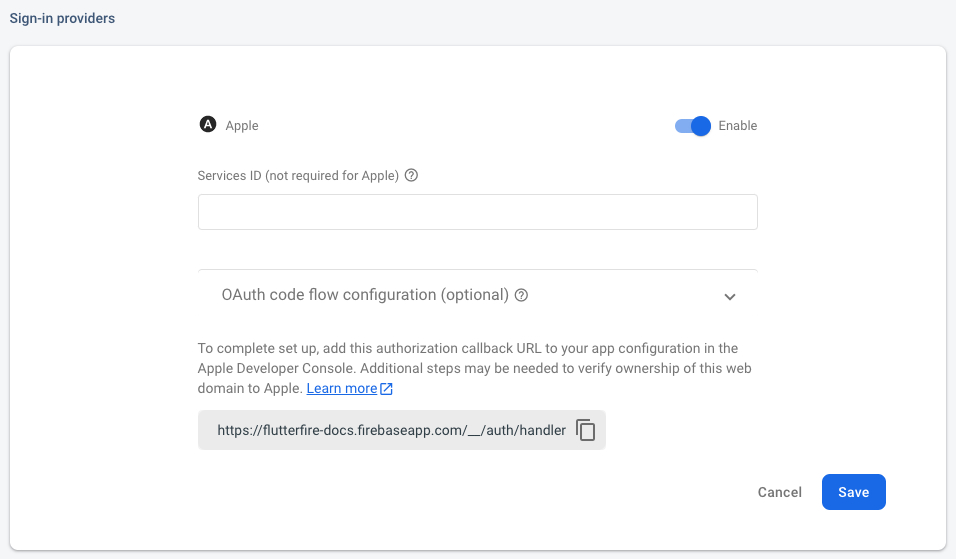
Once installed, add an AppleProviderConfiguration instance to the providerConfigs list of a supporting UI widget, for example:
A themed Apple OAuth button will now be rendered, and when pressed will trigger the authentication flow for Apple.