Integrating your first screen
Notice
This page is archived and might not reflect the latest version of the FlutterFire plugins. You can find the latest information on GitHub:
Firebase UI for Auth provides various Screens to handle different authentication flows throughout your application, such as Sign In, Registration, Forgot Password, Profile etc.
To get started with, let's add an authentication flow to an application. In this scenario, users will have to be authenticated in order to access the main application.
Initializing Firebase#
If you haven't already done so, you'll need to initialize Firebase before using FlutterFire UI. You can learn more about this in the FlutterFire Overview documentation, for example:
Material or Cupertino App#
FlutterFire UI requires that your application is wrapped in either a MaterialApp or CupertinoApp.
Depending on your choice, the UI will automatically reflect the differences of Material or Cupertino
widgets. For example, to use MaterialApp:
The AuthGate widget will be implemented in the next step.
Checking authentication state#
Before we can display a sign in screen, we first need to determine whether the user is currently authenticated. The most common way to check for this is to listen to authentication state changes using the Firebase Auth plugin.
The authStateChanges API returns a Stream with either the current user (if they are signed in), or
null if they are not. To subscribe to this state in our application, we can make use of the
StreamBuilder widget and pass the stream to it.
In the previous step, the AuthGate widget is constructed from MaterialApp. This widget will require
that a user is signed in before accessing the main application.
Our application starts by subscribing to the users authentication state, which is provided as the
snapshot to the Stream builder. To check whether the user is authenticated, the snapshot will contain
a User instance, or null if they are not. Using the snapshots hasData
property we can conditionally display the sign in screen if no user is signed in:
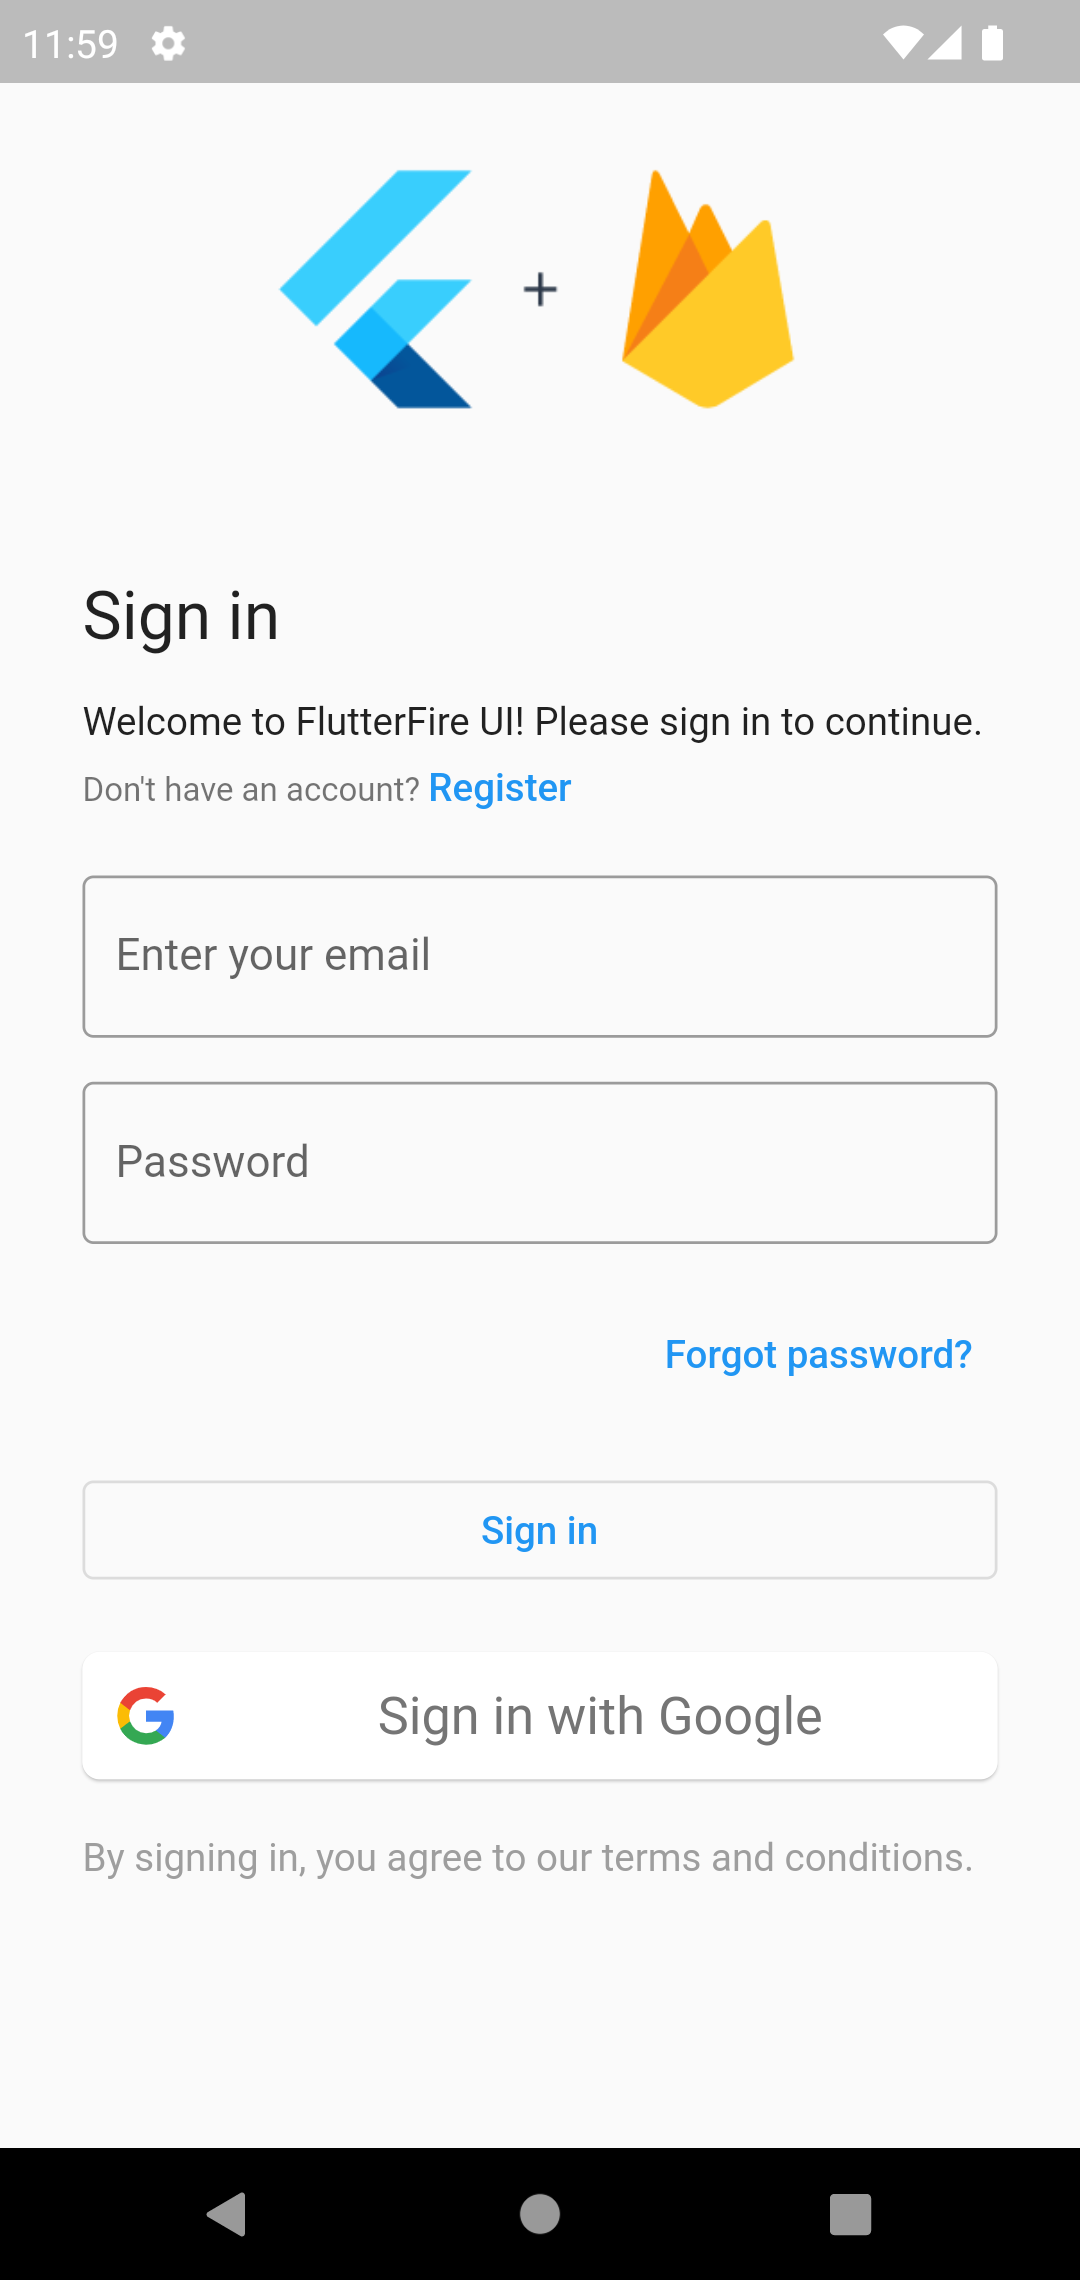
Constructing a SignInScreen widget#
FlutterFire UI for Auth provides different screens for different scenarios. For this example,
we are requiring that the user should be sign-in before accessing the main application. To do this,
we can return a SignInScreen widget.
Screens are customizable fully styled widgets designed to be rendered as a single "screen" within your application. Firstly, import the FlutterFire UI package:
Next, go ahead and return a new SignInScreen from the builder if the user is not signed in:
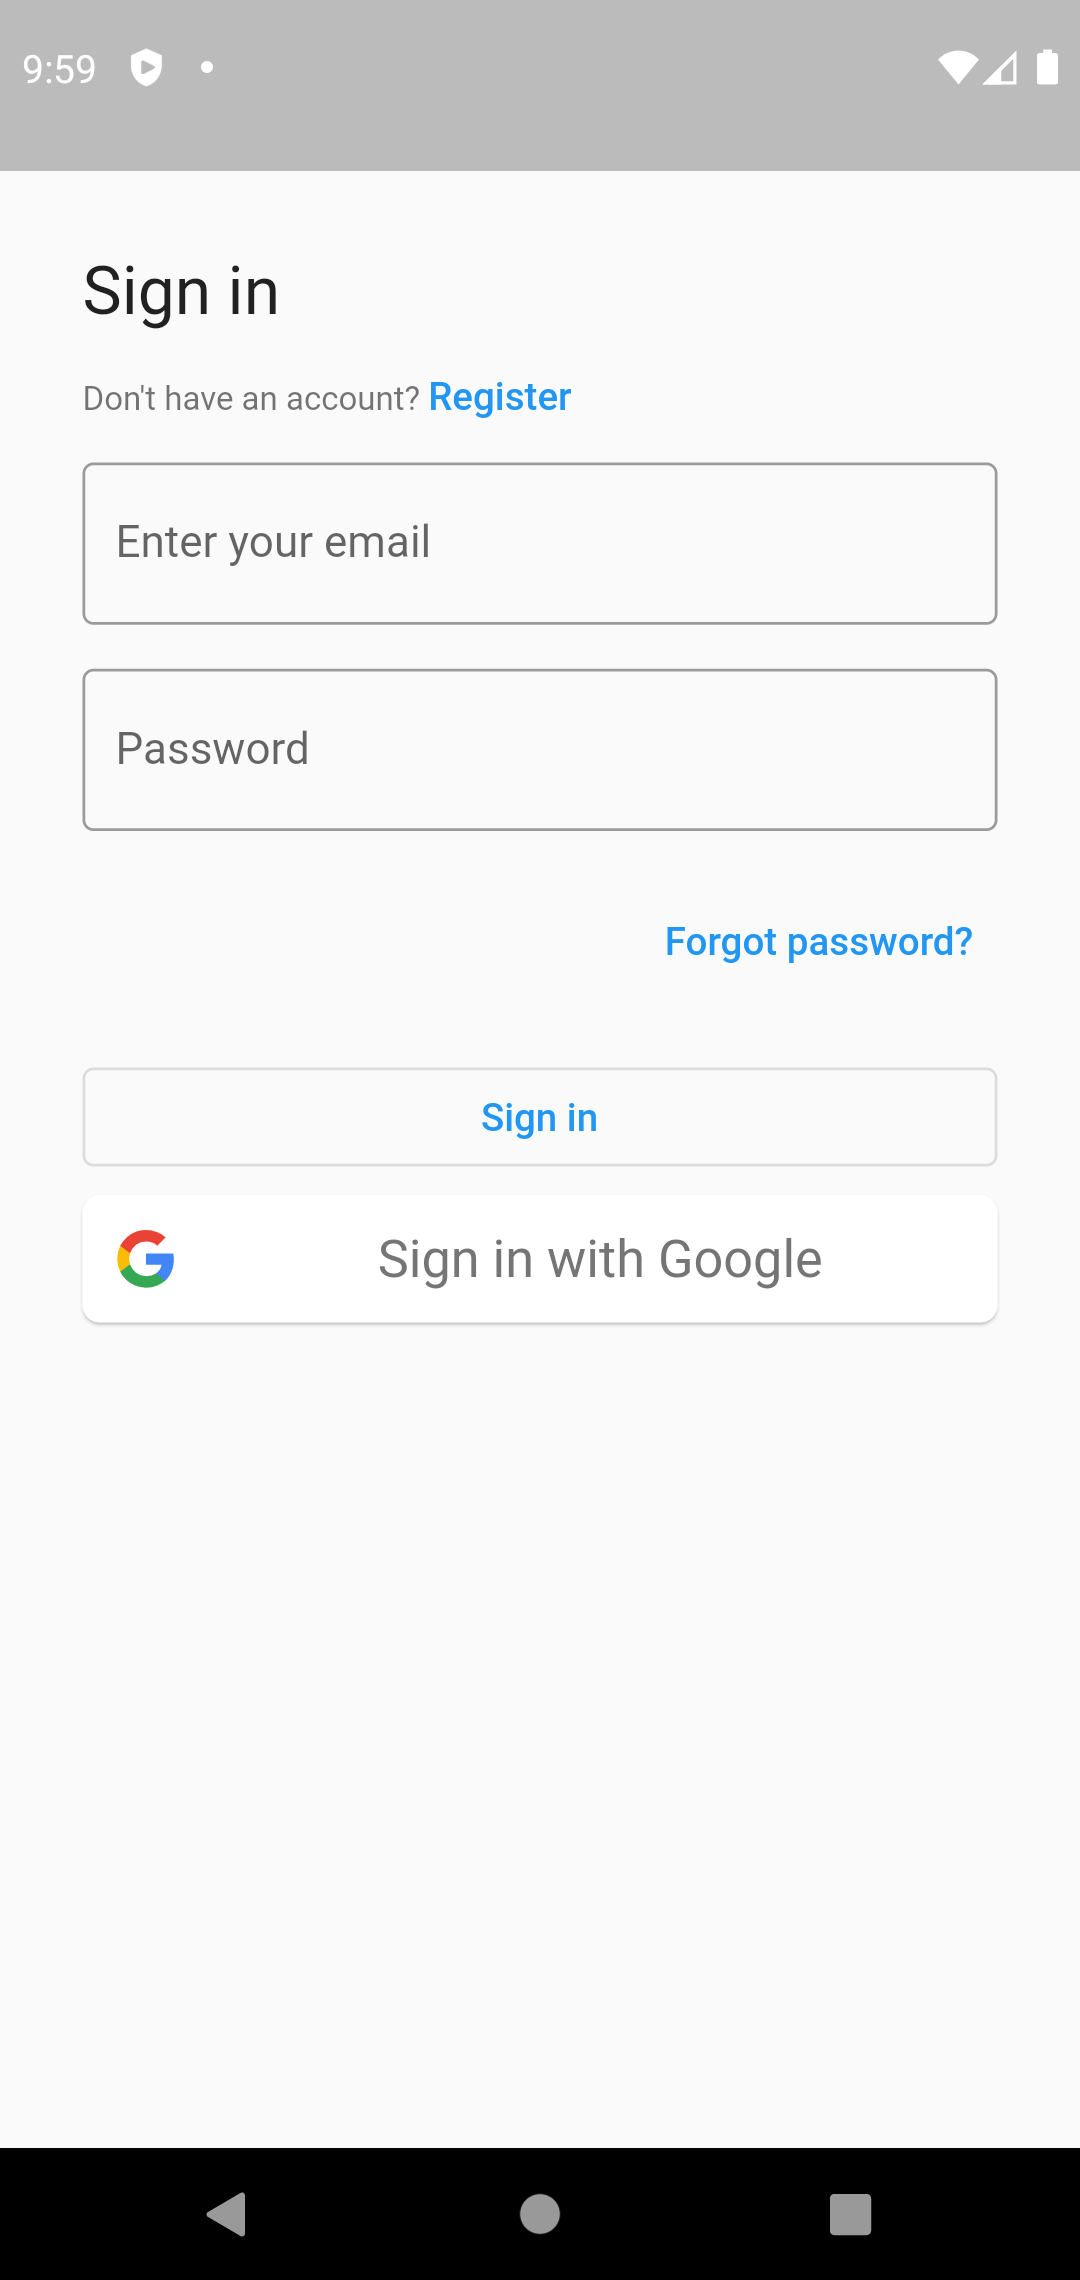
At a minimum, screens require a list of providers (via the providerConfigs property).
Providers are means of authentication, such as Email/Password or Google OAuth. At the moment, our SignInScreen has no providers
configured so, the screen will look empty:
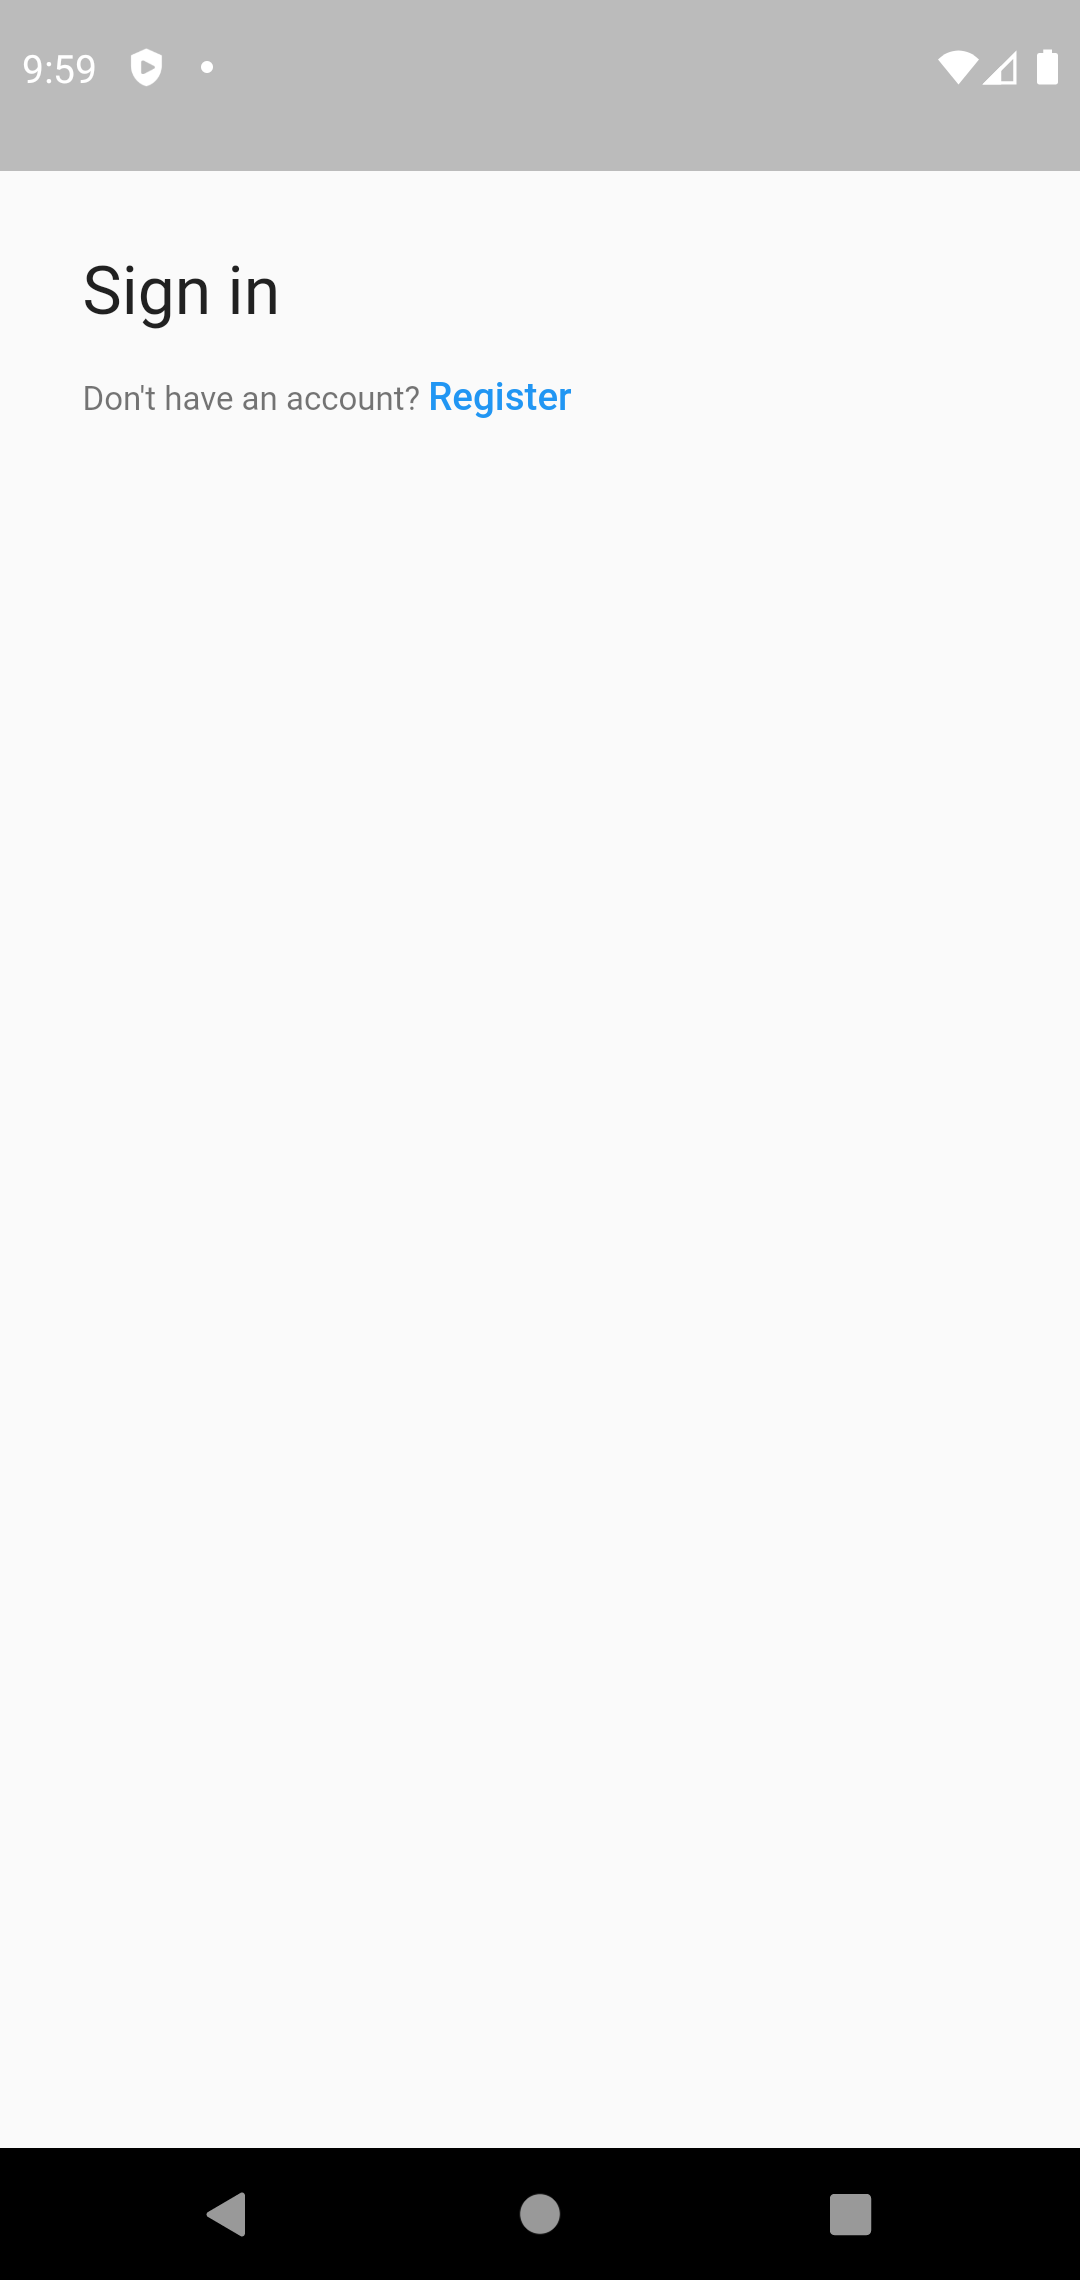
You'll also notice there is a "Register" handler, which when pressed will change the UI to a registration screen instead. This is fully customizable and can be removed if required (more on customizing screens later).
Let's go ahead and add some providers!
Adding Email & Password sign in#
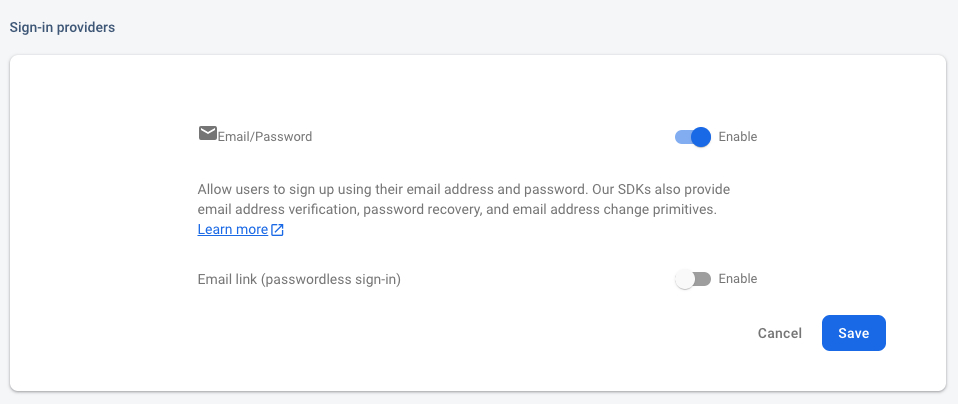
To allow the user to sign-in with an email and password, we first need to ensure that the Email/Password provider is enabled in the Firebase Console:
Next, add a new EmailProviderConfiguration instance to the providerConfigs list:
Just like that, we've now got a sign in screen which handles email and password authentication!

Behind the scenes, FlutterFire UI for auth will handle the entire sign-in process for us. Once signed in, the StreamBuilder
will be updated with the signed-in user and render our application. If the user signs out, the SignInScreen will be rendered.
Additionally, the UI handles various states such as the error messages (e.g. if an invalid email address is provided).
Adding Google sign in#
Commonly applications also provide support for authenticating with 3rd party providers, such as Google, Twitter, Facebook, Apple etc. The widgets provided by the UI package allow us to configure these providers and render a themed button for each available provider.
To integrate Google as a provider, we first need to install the official google_sign_in plugin
which will handle the native authentication flow for us. For native mobile integration, you'll need to follow the steps as described in the
README of the google_sign_in plugin.
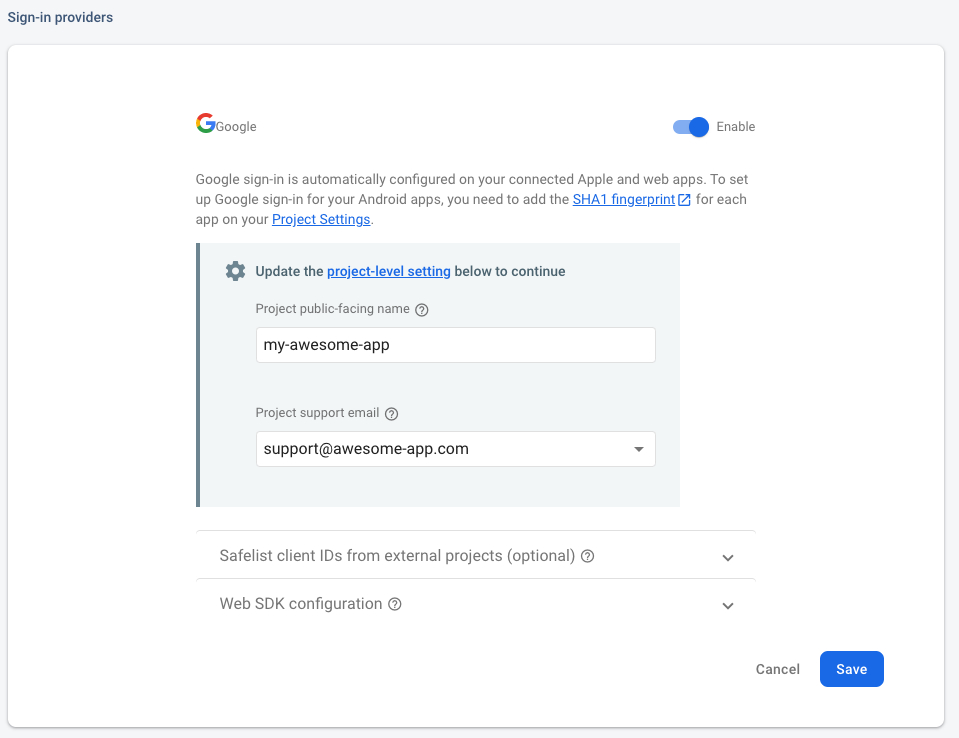
Additionally, ensure that the Google provider is enabled in the Firebase Console:
Next, add a new GoogleProviderConfiguration instance to the providerConfigs list:
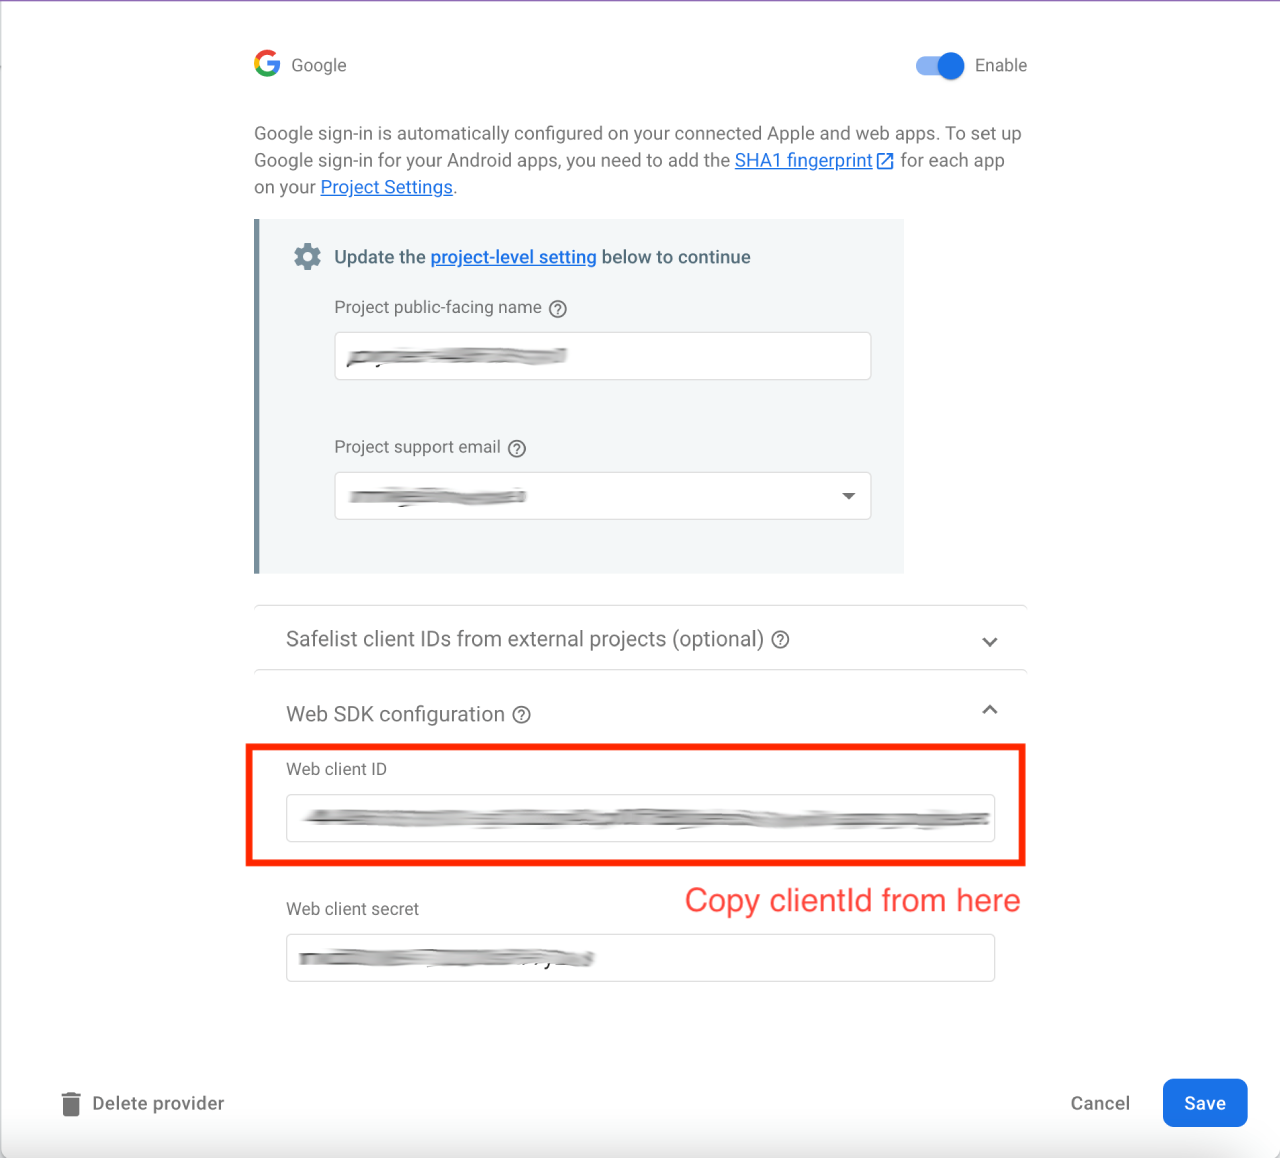
For cross-platform compatibility, some providers require a few additional properties to be added to the configuration. In this case,
the clientId can be copied from the Firebase Console.
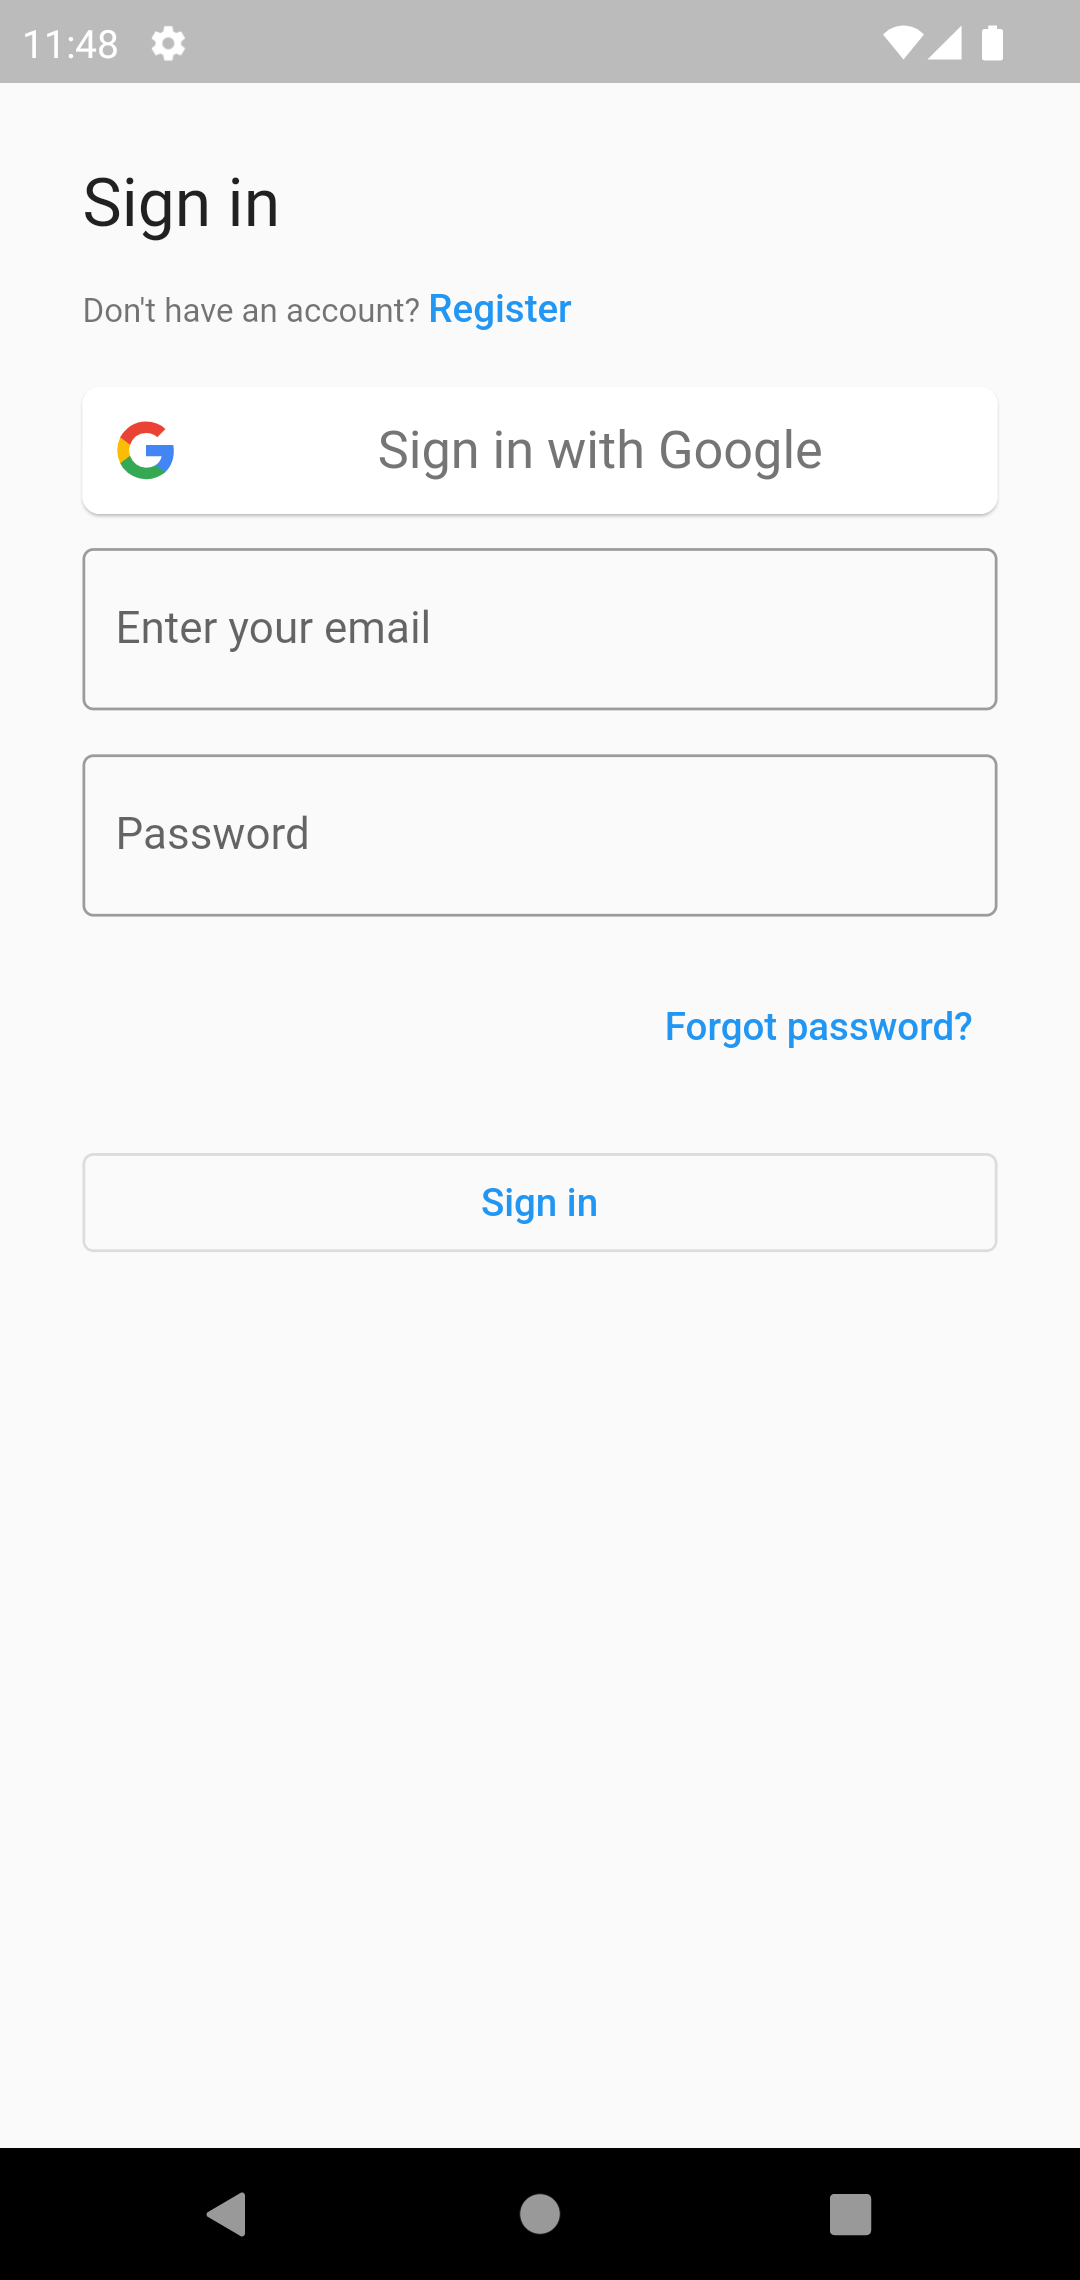
With the Google provider configuration added, our sign in screen will now include a Google button!
Just like Email/Password sign in, a successful Google sign-in will trigger the authentication listener allowing the user access to the application.
Customizing the UI#
The screens provided by the UI package are fairly basic on their own, however they are fully customizable, allowing you to add images, alter text and more.
Provider order#
The order in which a provider is added to the providerConfigs list determines the order in which they'll appear within the screens.
For example, let's show the Google sign in button first:
Header content#
Although functional, the sign in screen could do with a bit of styling. The headerBuilder property of screens
allows us to render a custom widget as a header, which will appear above our sign-in flow. For example, let's go ahead
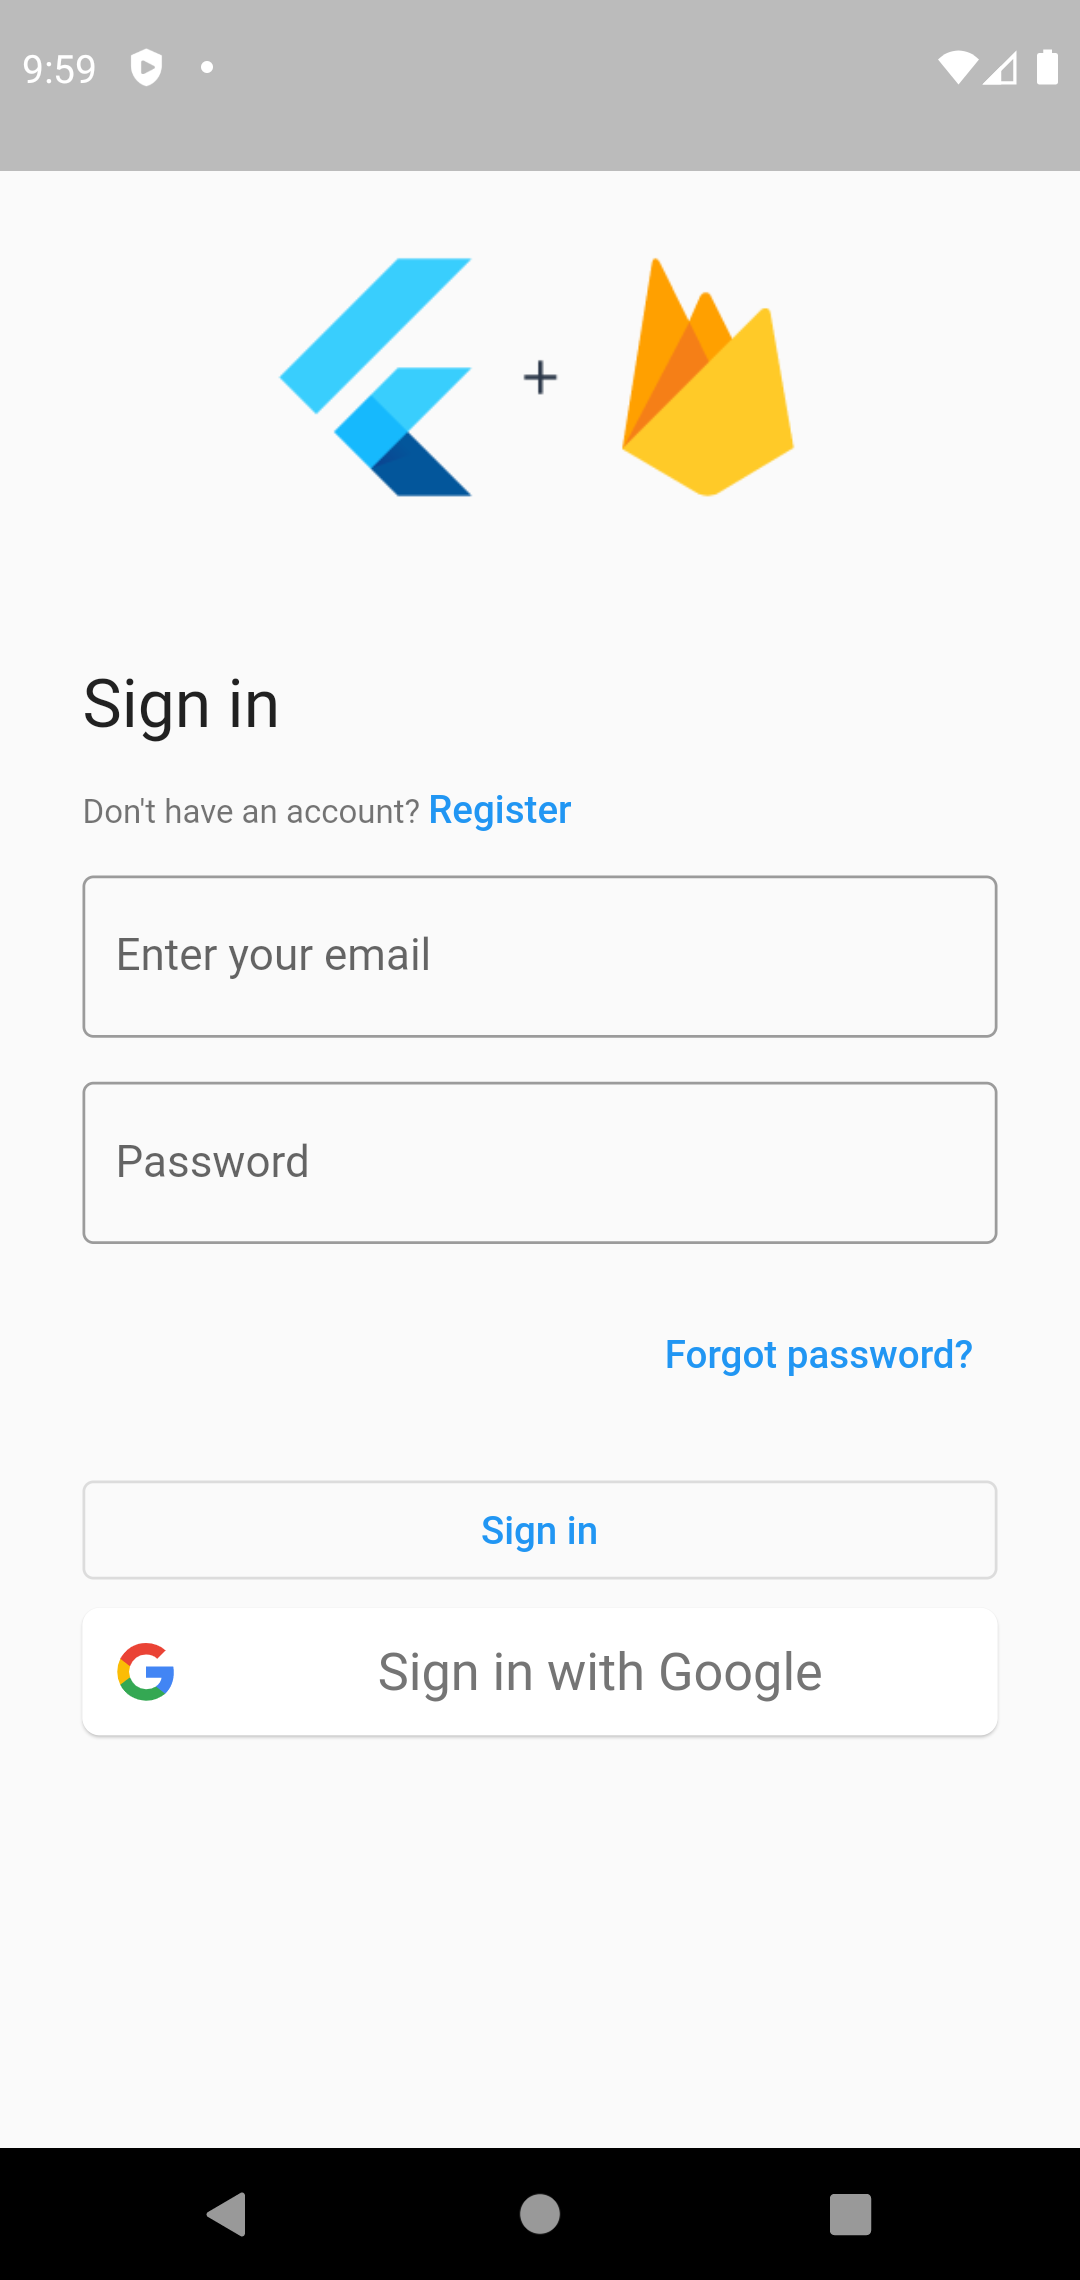
and add an image to be shown above our sign-in flow:
Great, our screen how has a nice header!
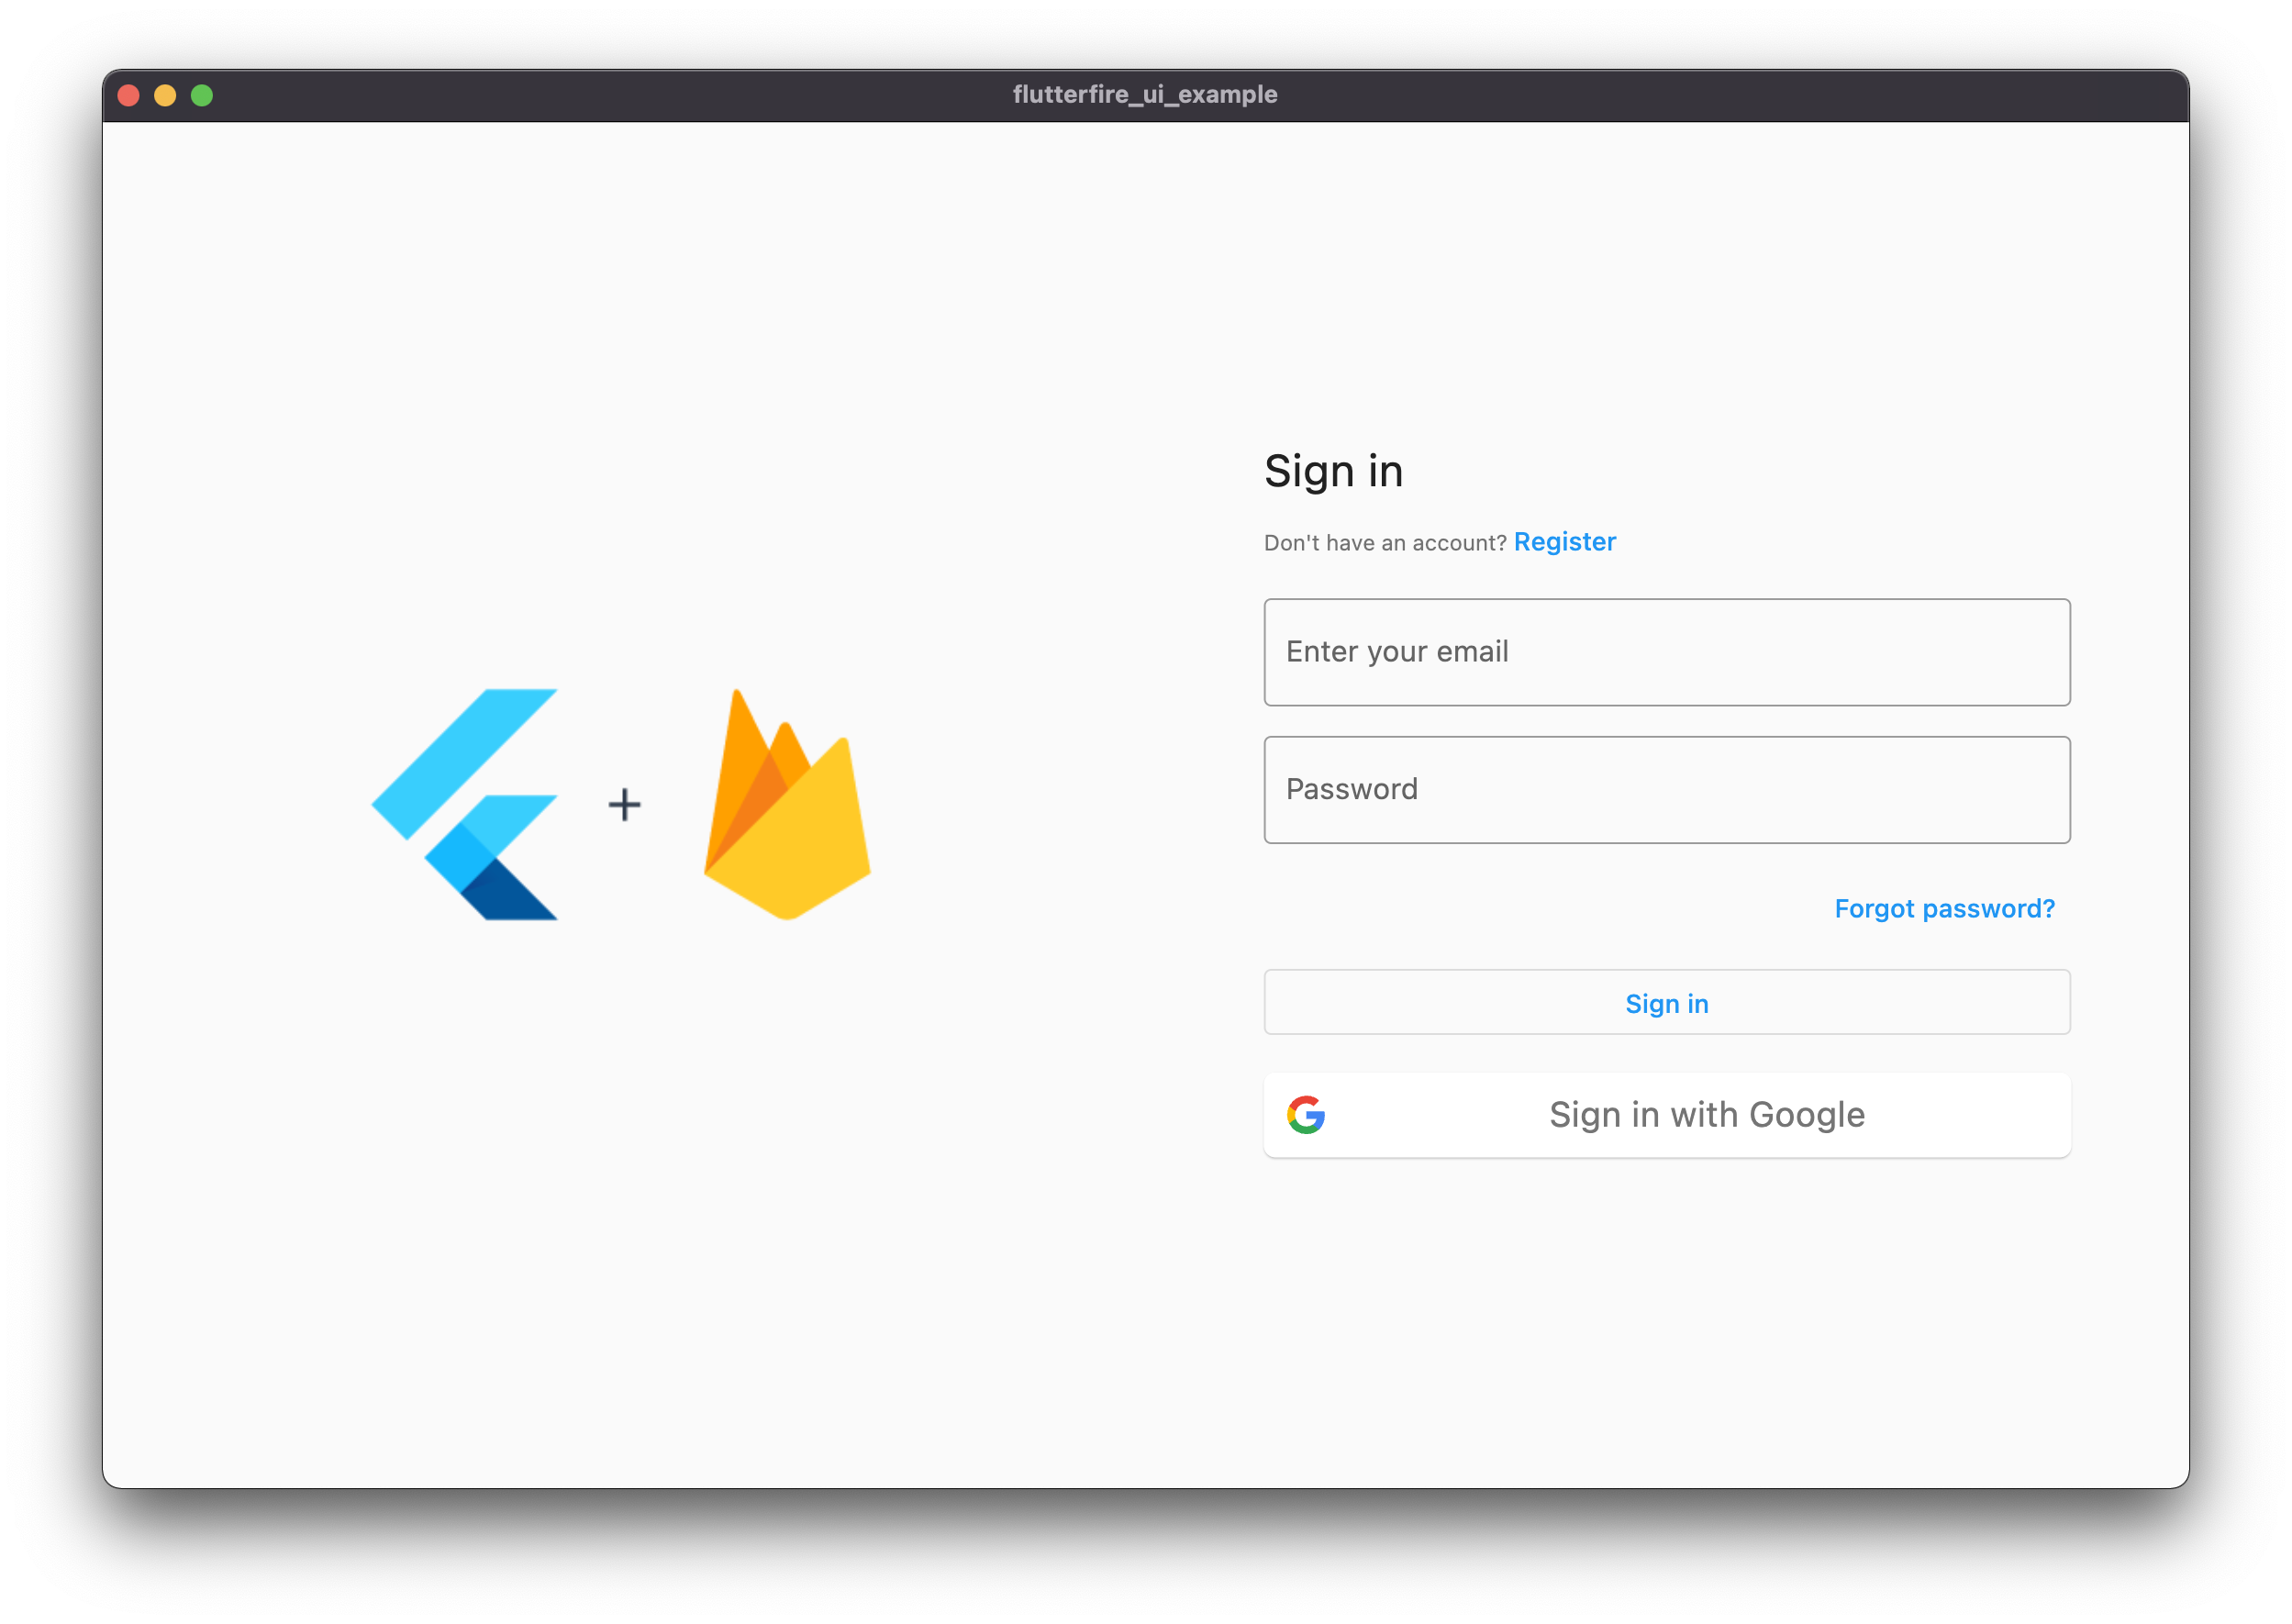
Side content (desktop)#
Although a header looks great on mobile devices, on desktop we still have a lot of unused horizontal space. Fortunately, screens
come with a sideBuilder property similar to headerBuilder which allows us to render a custom widget to the side of the screen.
Let's go ahead and add a custom image to the side of the screen which will be visible on larger screens:
Subtitle & footer content#
Another common practice is to add some personalized text to the screen, such as instructions, terms and conditions,
privacy policy etc. The subtitleBuilder and footerBuilder properties allow us to render custom widgets to
the top and bottom of the screen:
Disabling internal navigation#
Currently, our sign in screen allows the user to "navigate" to the register screen. In some cases you may want to disable this
and handle navigation yourself. Set the showAuthActionSwitch property to false to disable this behavior:
Additional screens#
FlutterFire UI for Auth offers more than just a sign in screen - most common user scenarios are also available as screens. You'll find that the API for screens is very similar to the API for sign in screens.
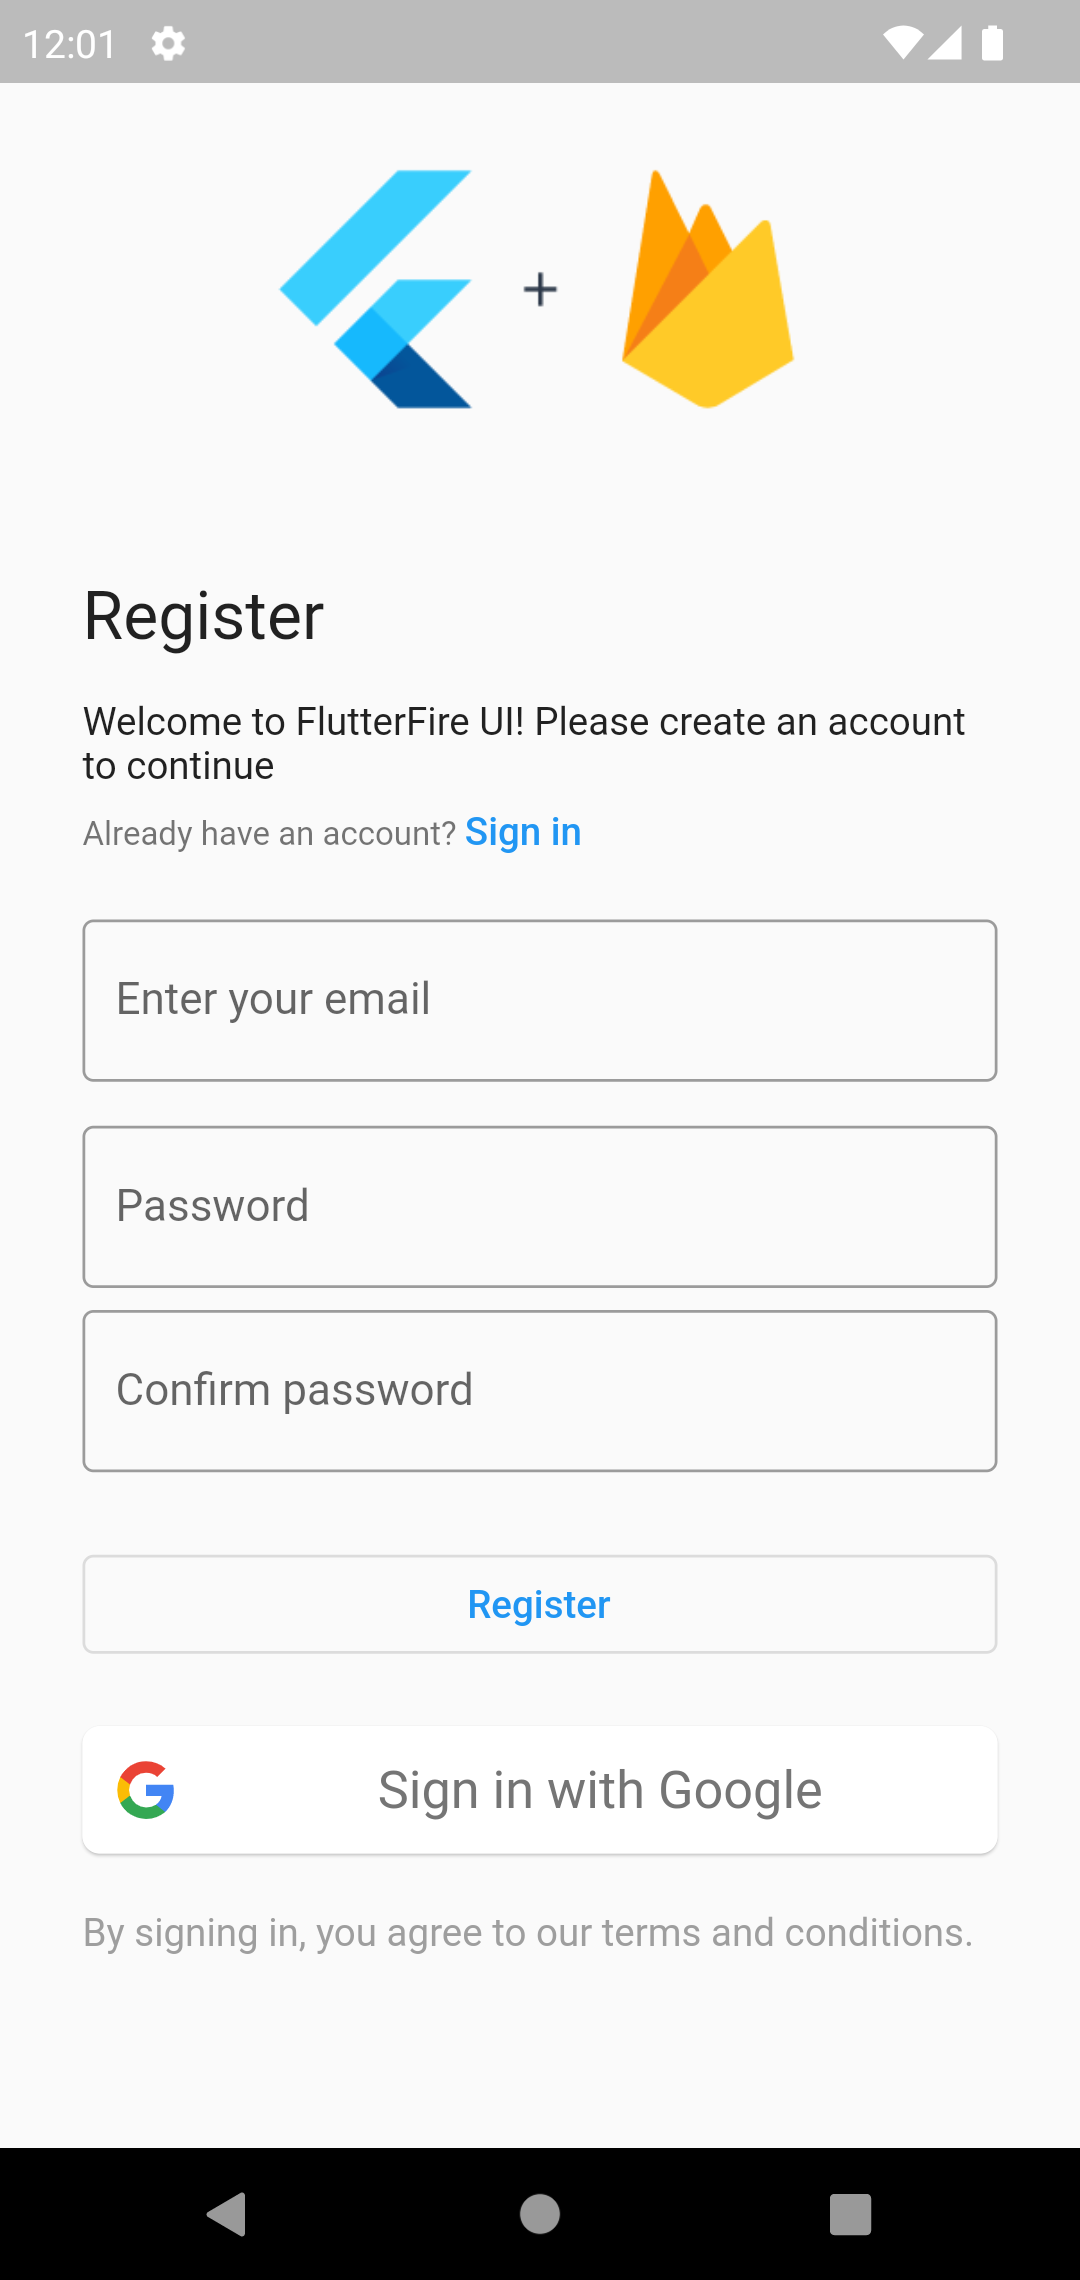
Registration#
A screen which allows the user to create an account.
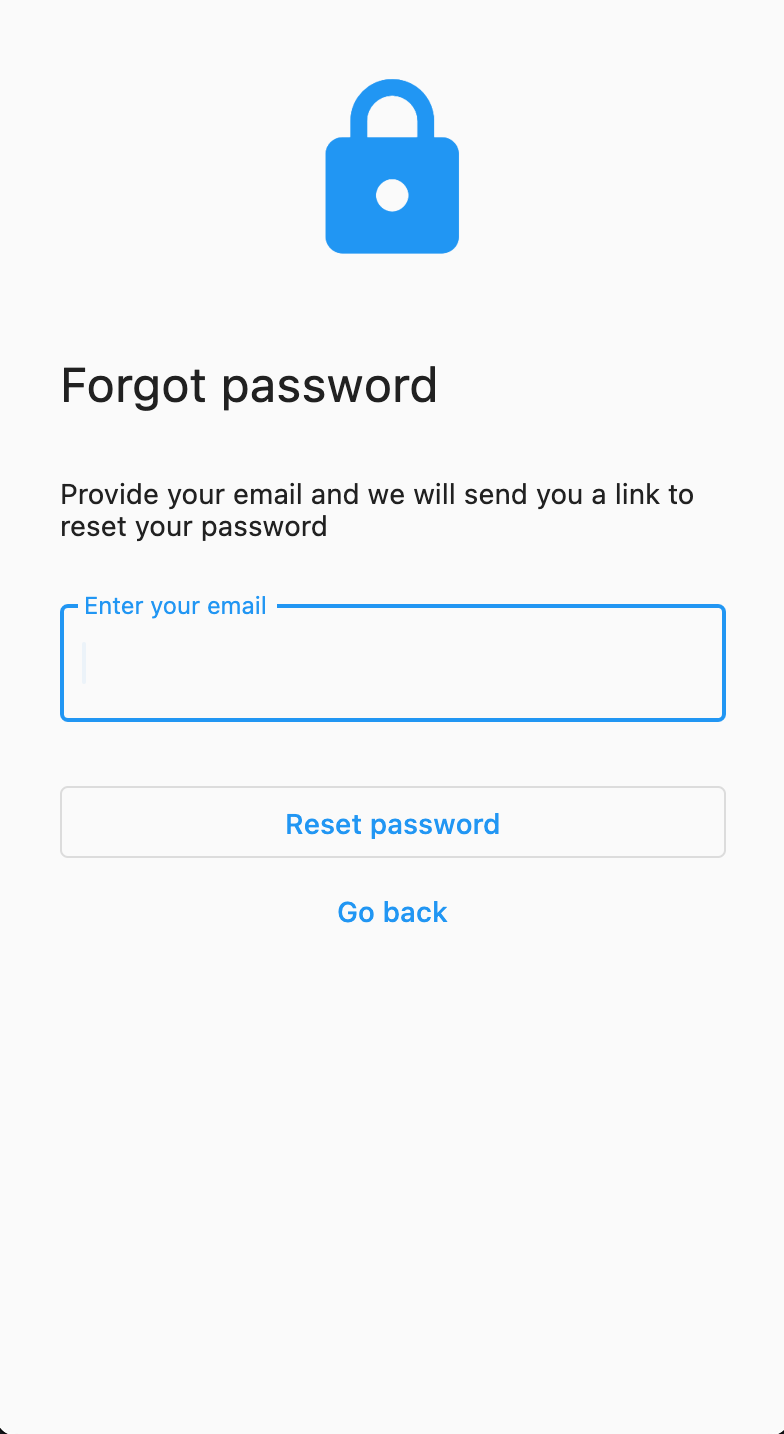
Forgot Password#
A screen which allows the user to enter their email address to send a password reset email.
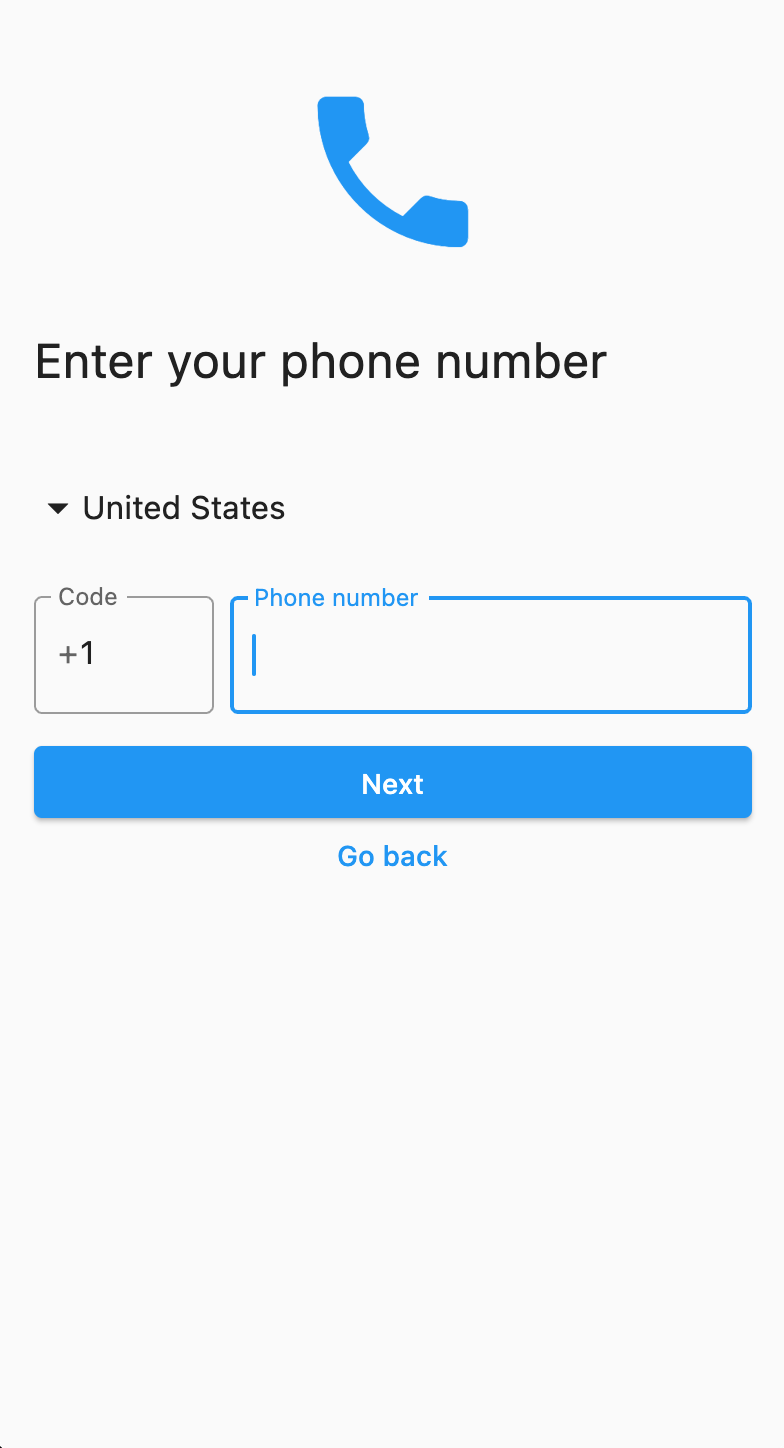
Phone Number Authentication#
A multi-flow screen which enables users to select a country code and provide their phone number. Once provided, the user will be asked to verify the phone number via an SMS code.
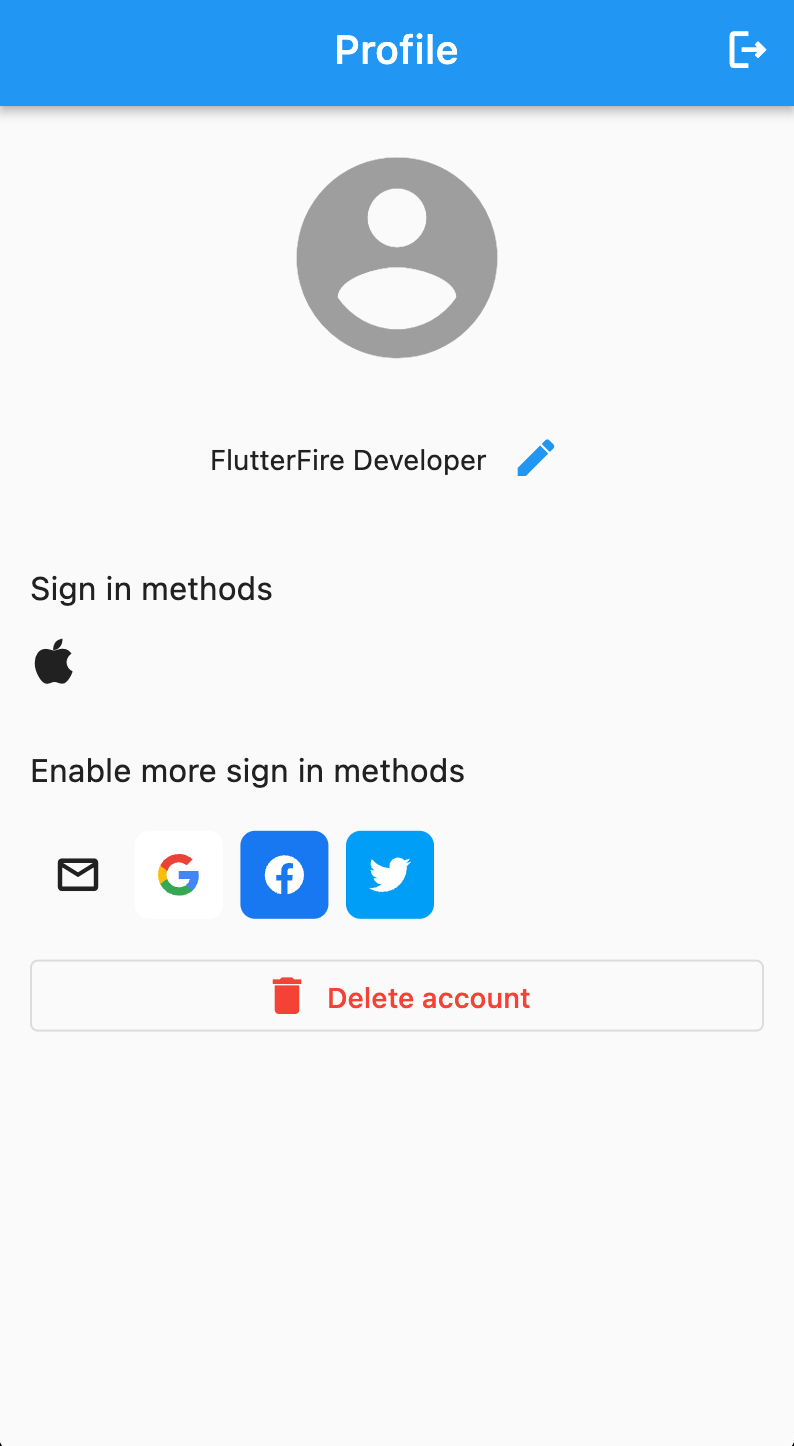
Profile#
When authenticated, displays a basic profile screen containing meta information such as their avatar and editable profile data.
Configuring auth providers globally#
Instead of passing a list of providers to each screen, you can alternatively provide a list of provider configurations to the FlutterFireUIAuth.configureProviders method:
Next Steps#
With your first screen integrated, you can now start adding more providers and integrating more screens!